
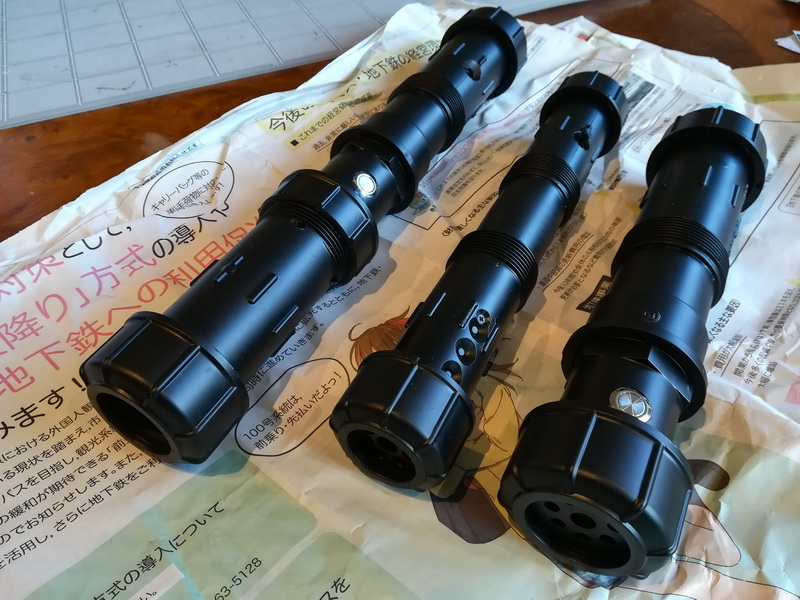

Hardware specification
- dimension : 1,055mm(include grip),255mm(grip only),dia 57.6mm max
- grip material : PVC pipe
- blade material : polycarbonate pipe dia. 26mm
- LED : 80pcs. * 2(double side) of RGB LED WS2812B
- Speaker : dia 35mm 8 ohm Amplifier 1.3W
- Battery : One 18650 Lithium ion
- Charge : 5V 1.2A Charge time 3 hours
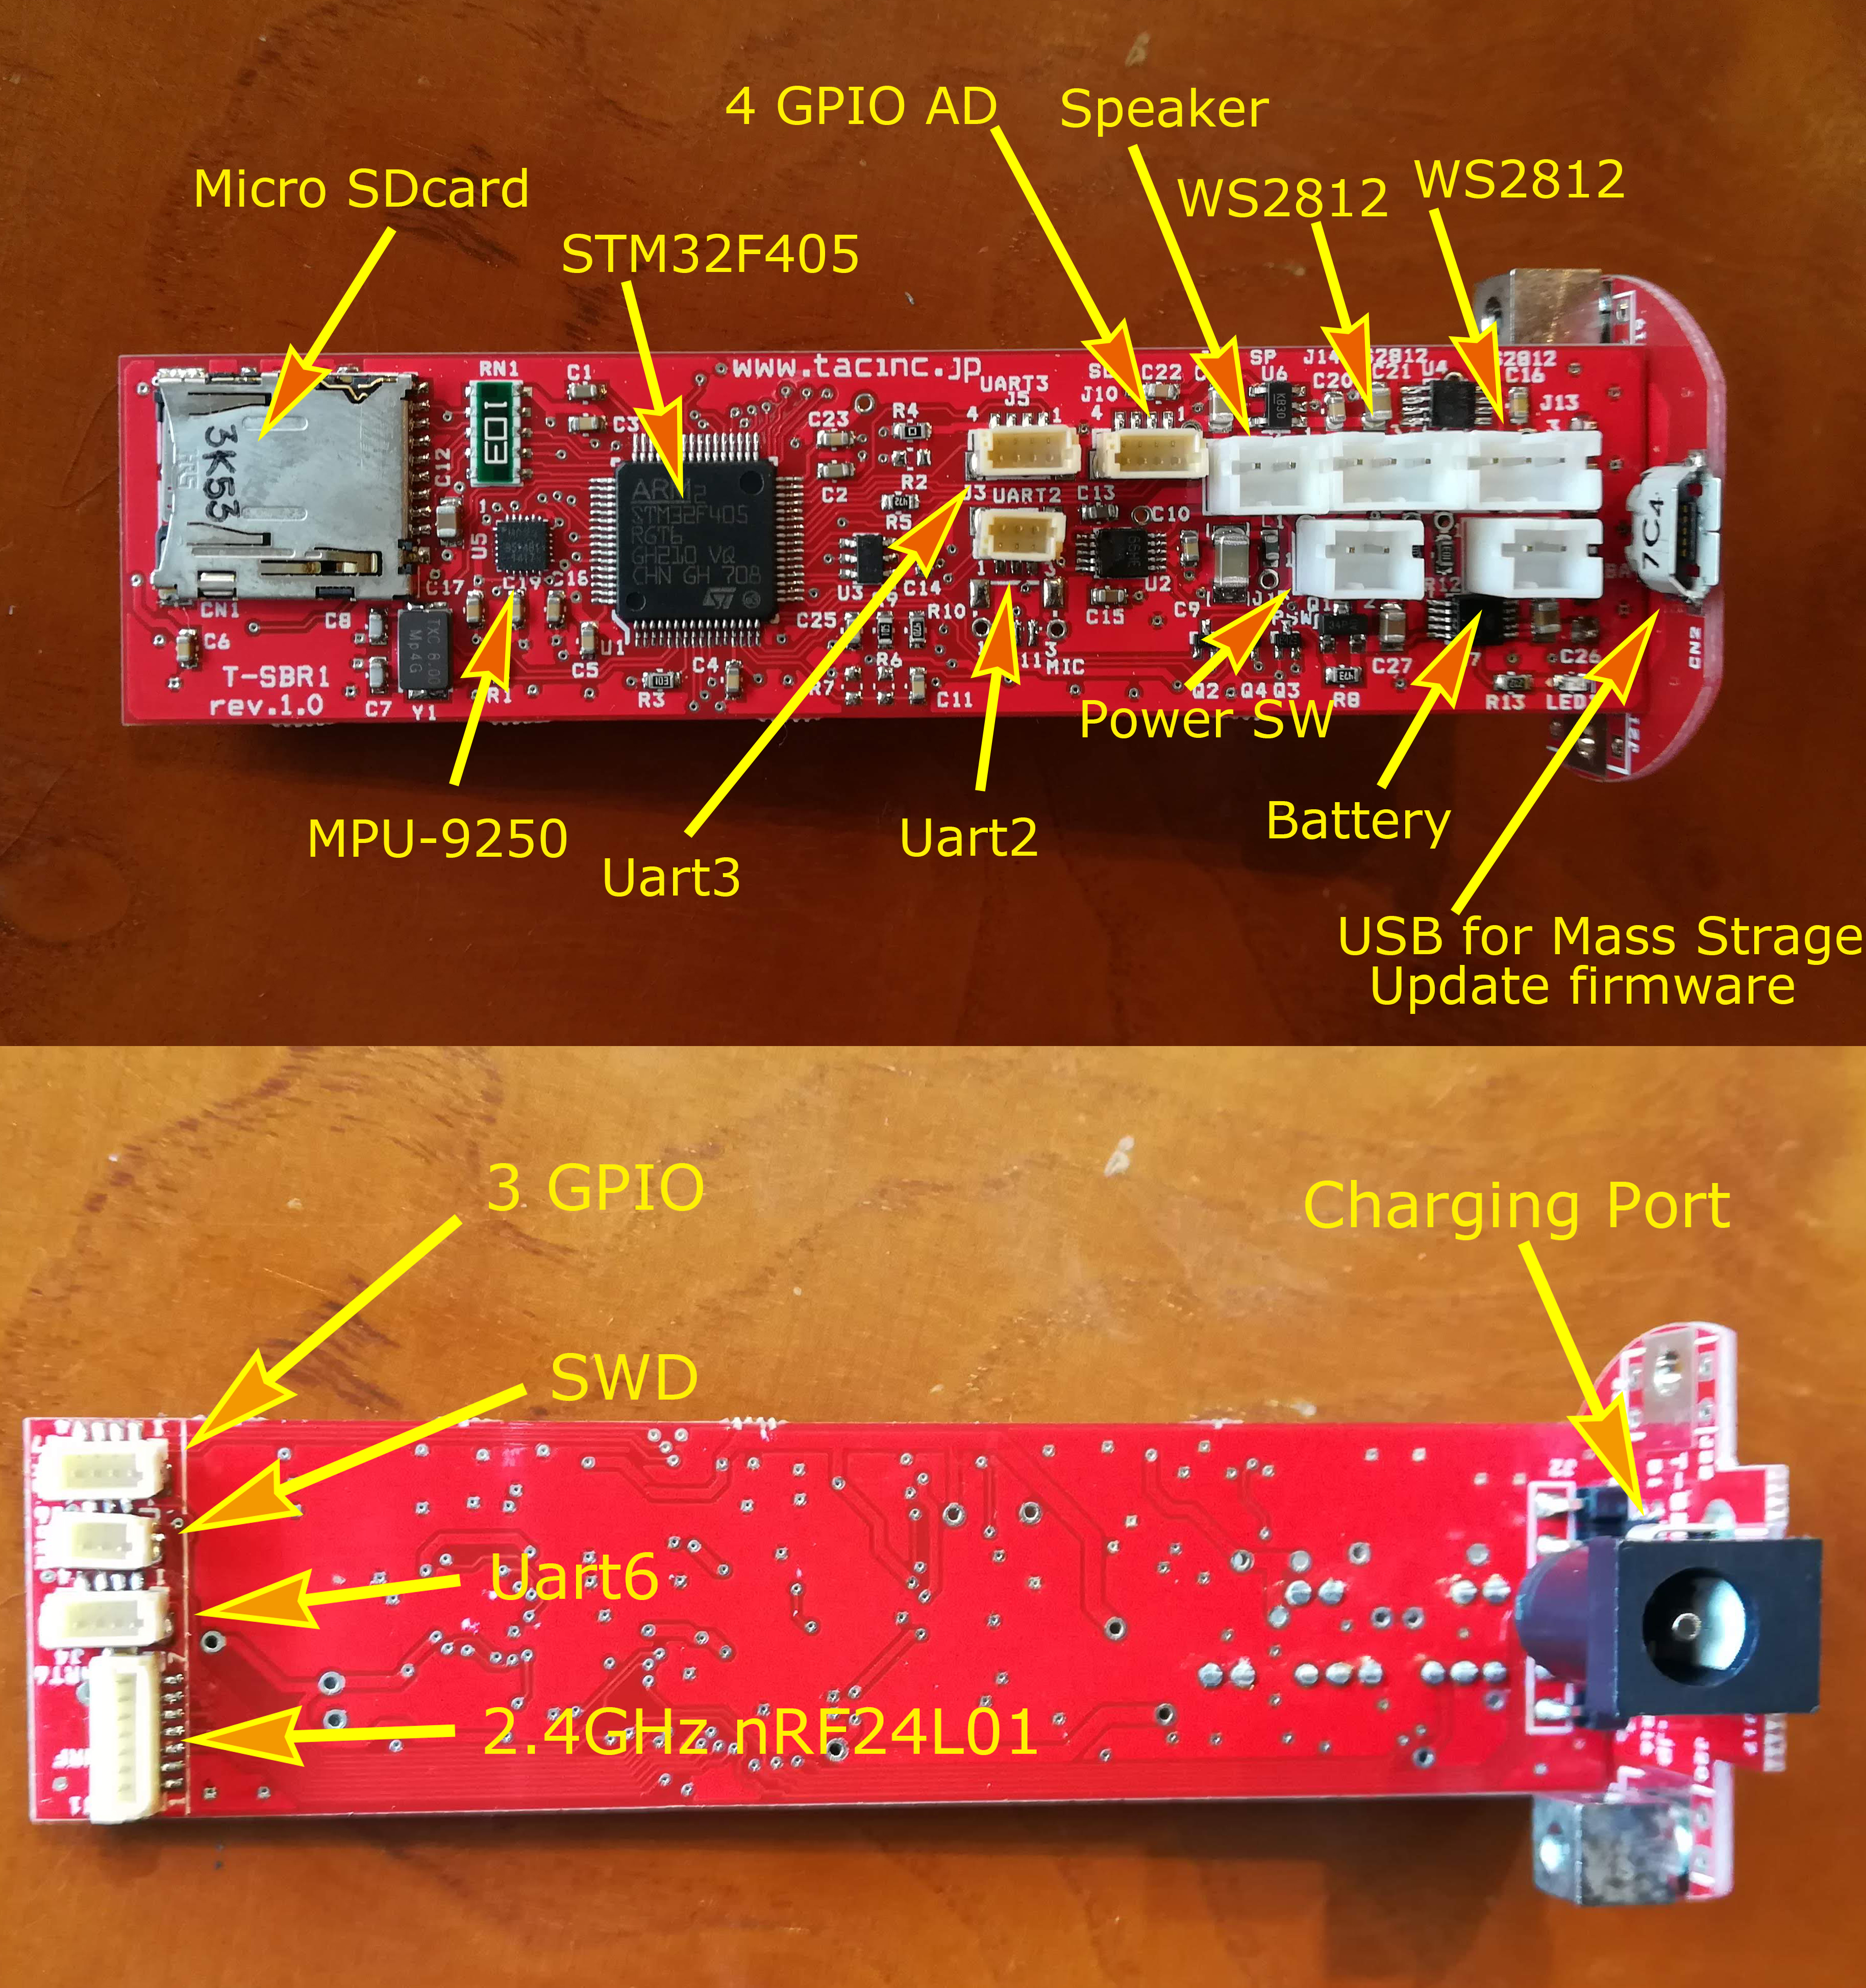
- CPU : STM32F405
- IMU : MPU-9250 gyroscope ,accelerometer, magnetometer
- Storage : Micro SDcard
- Option : WiFi(ESP8266),NRF24L01
PCB
Why do I want to make a lightsaber by myself ?
- I wanted to make it full color
- More smooth to extend a light of blade
- I need more brightness
- I need more sound volume
- I wanted to use the STM32 for Lightsaber.
Mode
- [Normal mode]
It is a normal lightsaber mode.
To enter this mode ,Press Power SW only once. do not press A or B .
To turn off ,Press Power Switch again. - [USB Mass storage mode]To enter this mode , Hold down B and press Power SW only once.
To turn off ,Press Power Switch again.
This is the same as the USB memory.
You can access the inside SD card. For rewriting POV data and data of playback mode. - [DFU mode]
To enter this mode , Hold down A and press Power SW only once.
To turn off ,Press Power Switch again.This is a mode to update the firmware by using DfuSE from STMicroelectronics .
Setting mode in normal mode
Color setting mode:
Sound Volume adjustment mode:
Brightness setting mode:
Function to play WAV file
WAV file specification: 22,050Hz 16bit single channel
In mass storage mode, connect the USB cable and copy the following files to the root. Up to 9 files.
music_0.wav
music_1.wav
music_2.wav
.
.
music_9.wav
How to play wav file
POV – Persistence Of Vision mode
This lightsaber has POV function.
However, since the blade is only one, and heavy ,it is difficult to see it with the naked eye.
Taking pictures with the camera makes it an image.
It is necessary to adjust shutter speed and rotation speed of lightsaber.
Examples of how to make images
- Prepare the image.

2. polar conversion

3. rotate . and then reduce the image to 80 * 170 dot

4. Convert to RGB565 format by software I made.
Make this file name
versa_0.i16
If more than one is required
versa_0.i16
versa_1.i16
versa_2.i16
versa_3.i16
Up to 9 files.
5. In mass storage mode, connect the USB cable and copy the following files to the root.
Playback mode (GLEDIATOR mode)
This lightsaber has playing data by GLEDIATOR
http://www.solderlab.de/index.php/software/glediator
- Install GLEDIATOR and then Run
- Option -> Matrix Size x = 80 y = 1 Done
- Make pattern
- Extra -> Recorder -> Rec Name of file gled_l.bin
- Press Stop at an arbitrary timing
- In mass storage mode, connect the USB cable and copy the following files to the root.
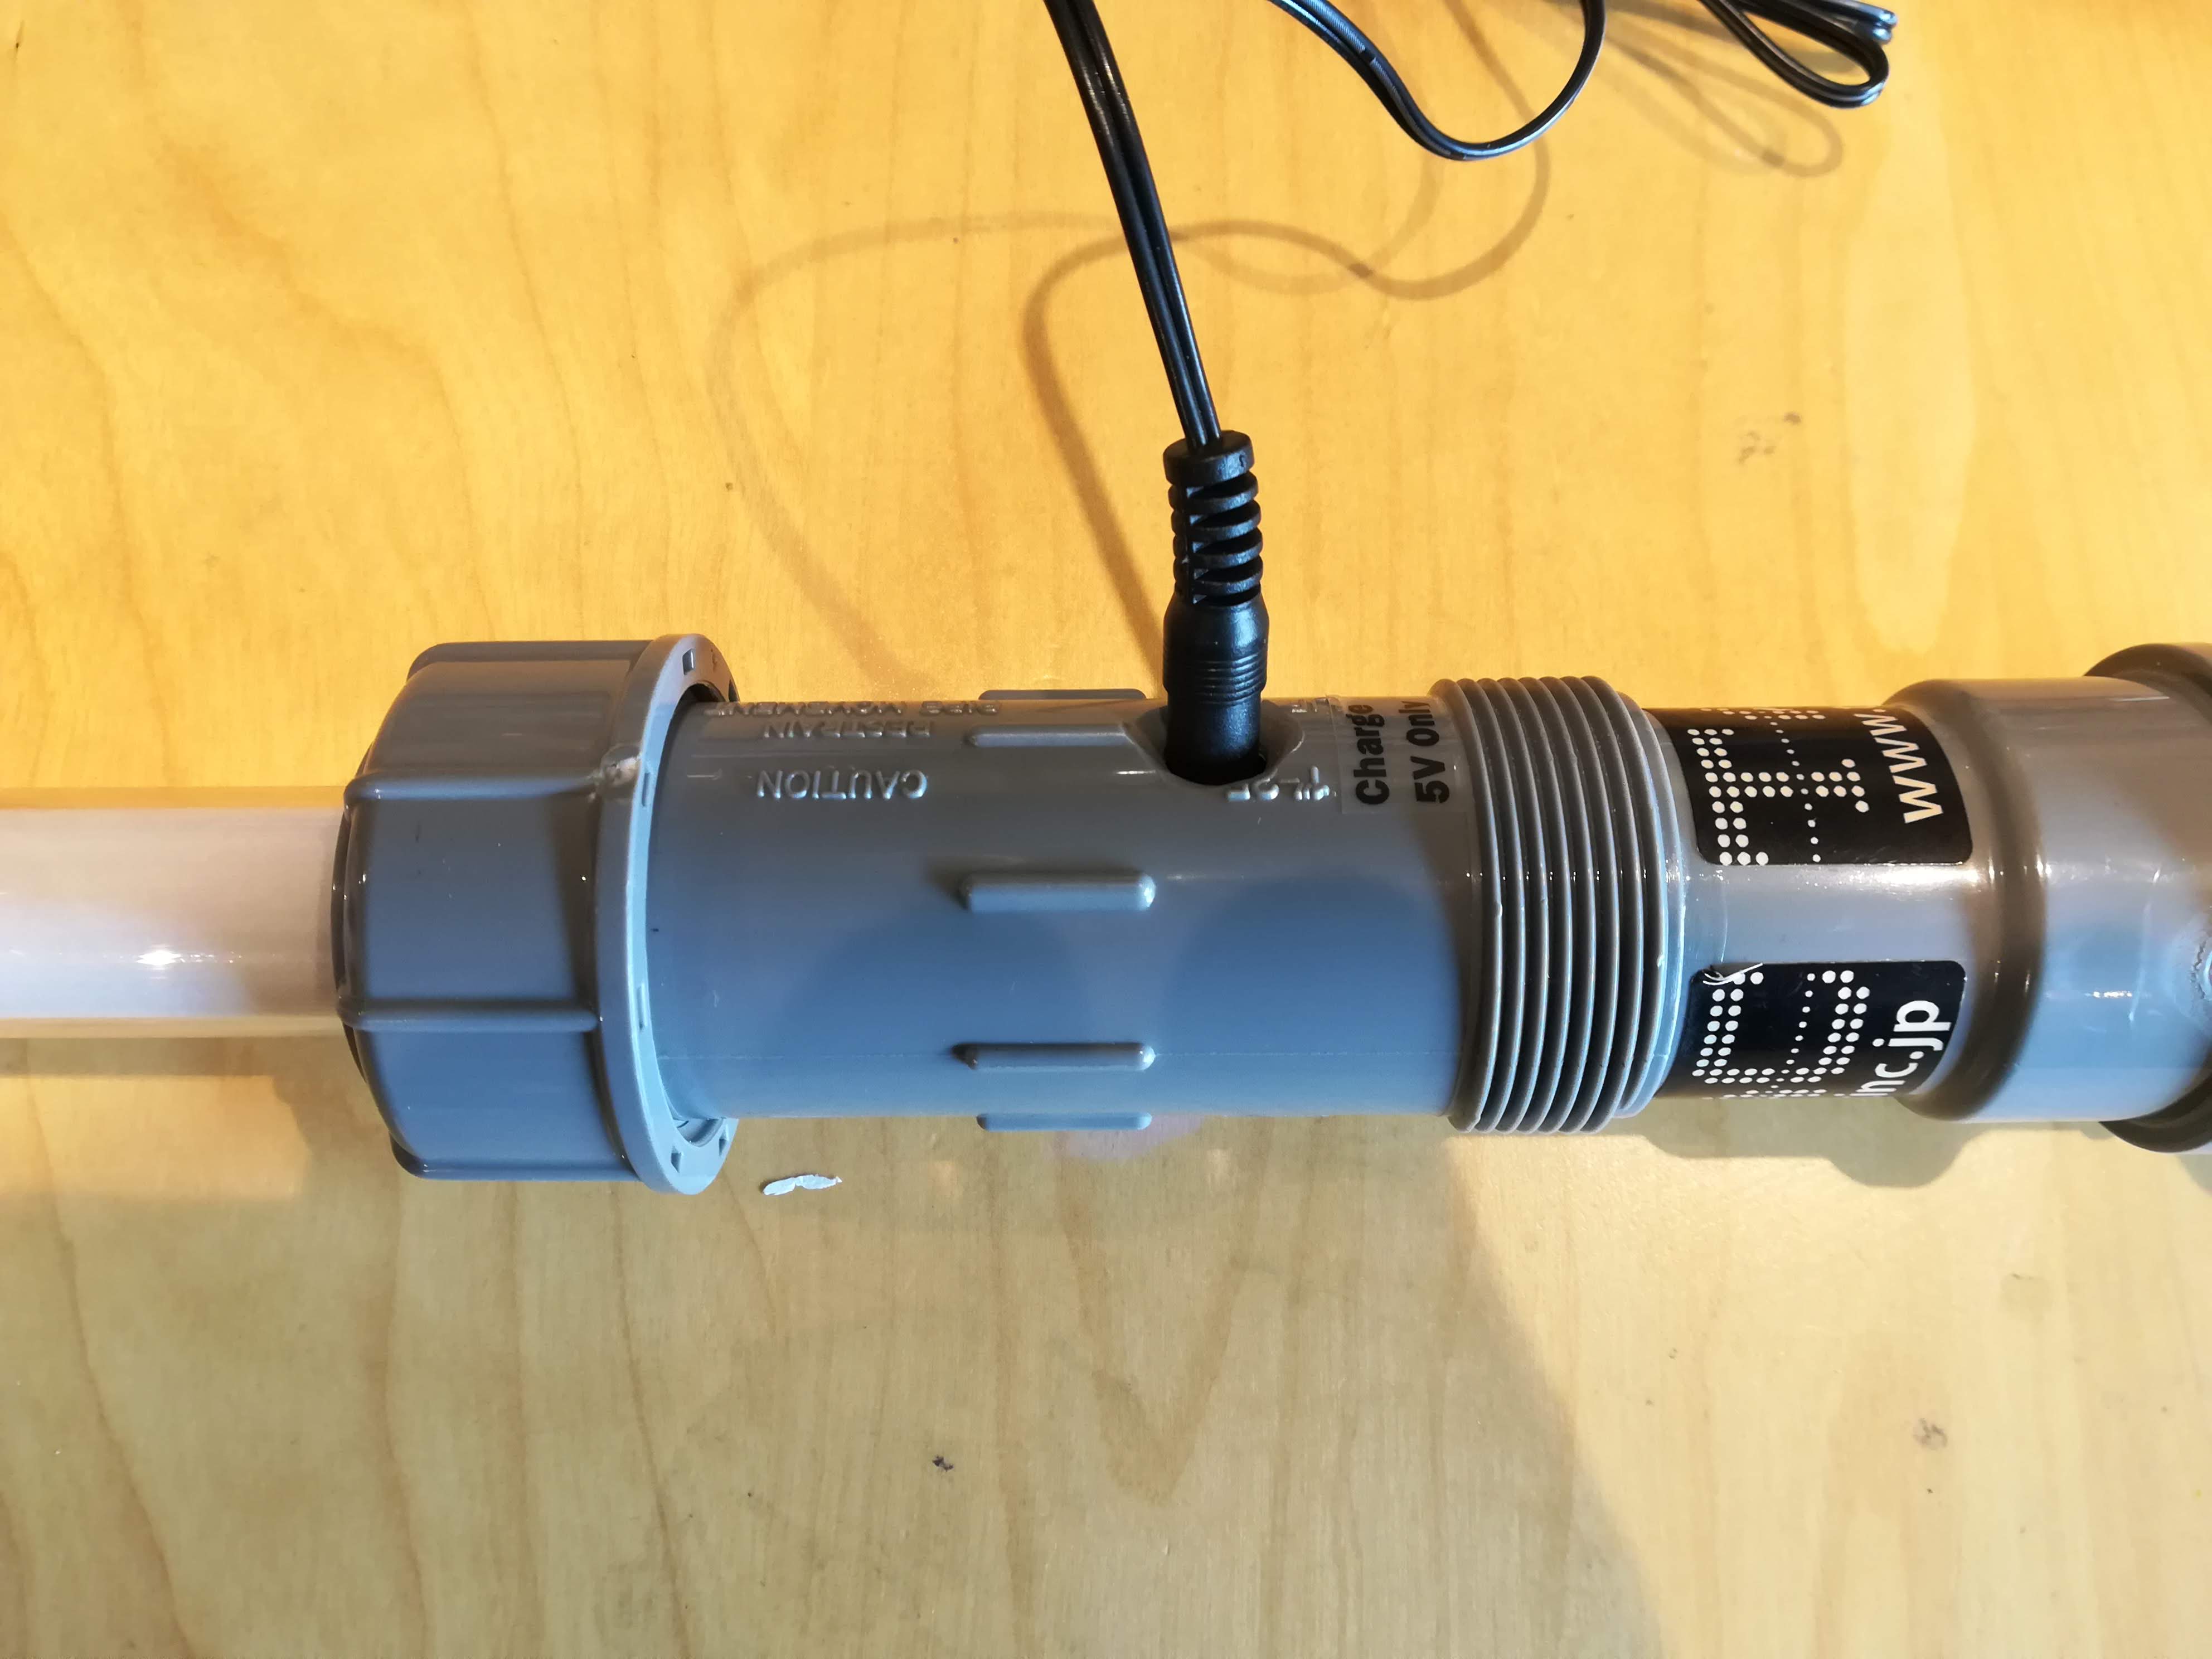
Charge
You need DC 5V power supply for charging lightsaber.
- Output voltage: DC 5 V 1.5A
- Rated output current: over 1.5A
- Plug dimensions: outer diameter 5.5 mm inner diameter 2.1 mm
- Polarity: Center Plus
- Also,USB Male to DC 5.5 x 2.1mm Power Cable is OK.
Caution!
Wrong voltage or polarity will break the lightsaber.
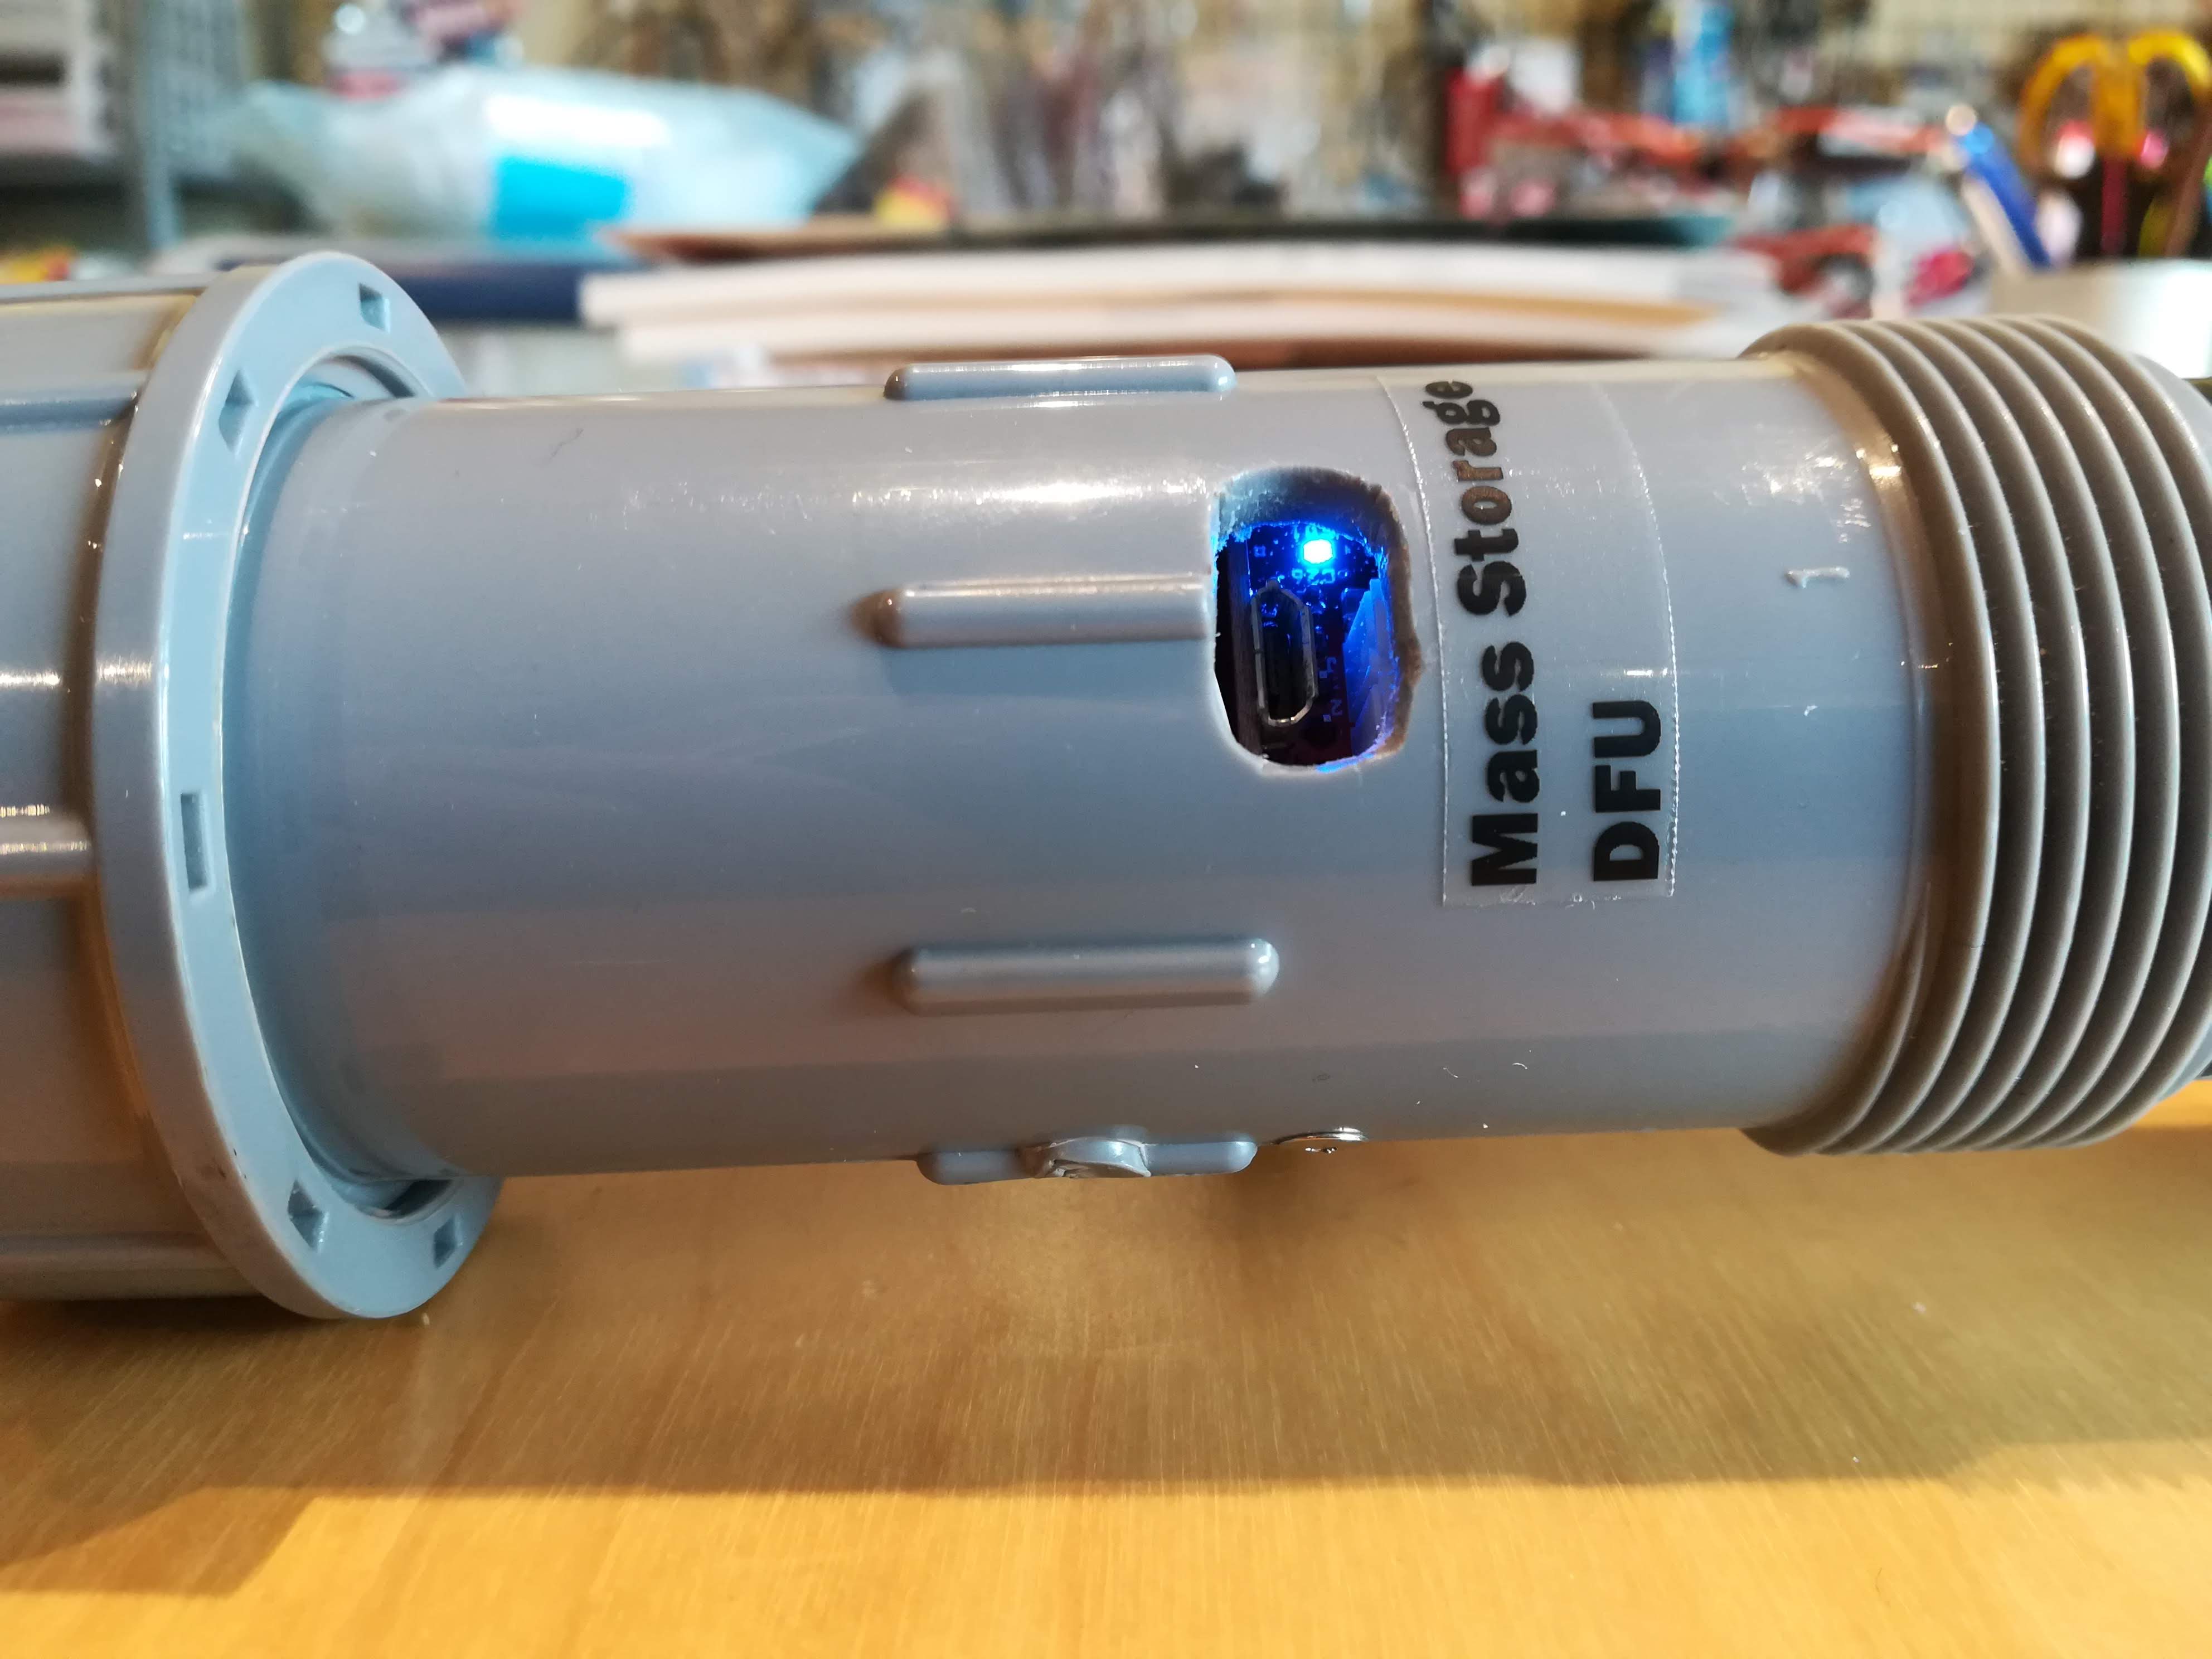
The blue LED lights up while charging.
Once charging is completed, the blue LED turn off.
WiFi version